
Email format error
Email cannot be empty
Email already exists
6-20 characters(letters plus numbers only)
The password is inconsistent
Email format error
Email cannot be empty
Email does not exist
6-20 characters(letters plus numbers only)
The password is inconsistent

News
News about decoration industry from custom christmas ornament manufacturers, you can get nice ideas here.
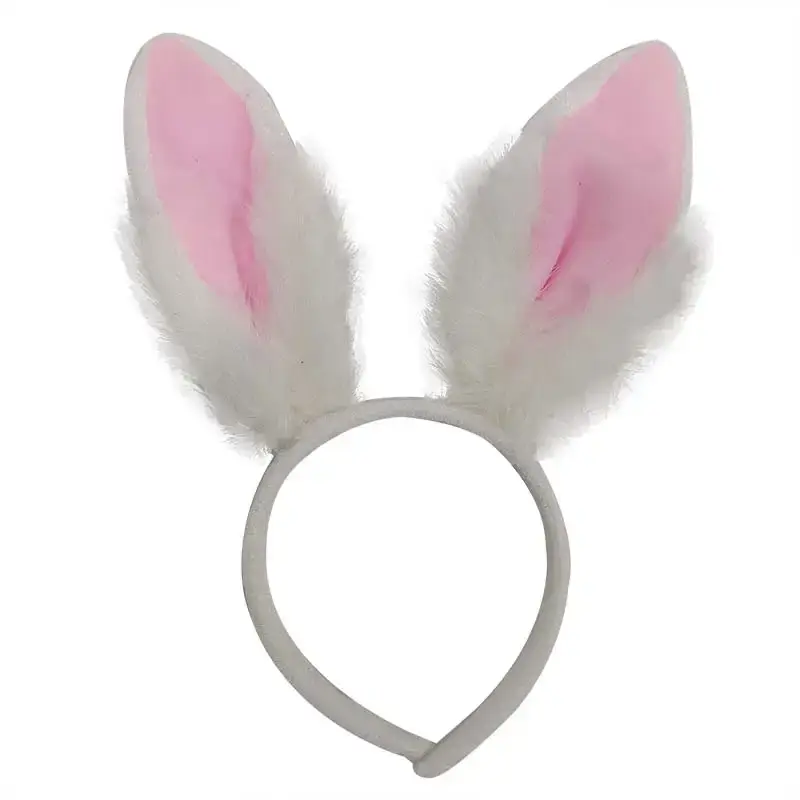
DIY Easter Bunny Headband: Simple and Adorable Holiday Craft Tutorial
Easter is just around the corner, and making a cute bunny headband for your children will not only add to the festive atmosphere but also inspire their creativity. Here are some simple and practical DIY Easter bunny headband tutorials perfect for parents and children to create together.
I. Basic Bunny Headband Making Method
Materials:
Headband
Wire
Sock
Twister
Scissors
Glue or Hot Glue Gun
Instructions:
Materials:
Prepare a headband, wire, and a sock. The wire will form the base for the bunny ears, while the sock will wrap around the ears for a more adorable look.
To make the bunny ears:
Fold the wire into two long ears. The length of each ear can be adjusted to suit the size of your child's head; a length of 15-20 cm is recommended.
Place the folded wire ears into the sock, making sure the sock completely covers the wire ears.
Securing the ears:
Use hot glue or superglue to secure the wrapped sock ears to the headband. You can adjust the ears to a slightly curved shape for a more natural look.
Decorating the Ears:
Wrap colorful twist-around sticks around the bunny ears for a touch of color and decoration. You can also add small stickers or sequins to the ears for a more sparkly look.
Completing the Headband:
Once all parts are secure, the bunny headband is complete. Have your child try it on to see if it fits and make adjustments as needed.
II. Creative Bunny Headband Making Method
Materials:
Cardboard or cardboard
Colored paper or fabric
Scissors
Glue or double-sided tape
Marker or colored pen
Headband
Decorations (such as ribbon, sequins, buttons, etc.)
Steps:
Cut the Bunny Ears:
Cut out two bunny ear shapes from cardboard or cardboard. The ears can be simple rectangles or curved for a more three-dimensional effect.
If using colored paper or fabric, tape the cut ear shapes onto the paper or fabric and then cut them to add more color. Decorate the ears:
Use markers or colored pencils to draw details on the bunny ears, such as the eyes, nose, and whiskers. You can also add sequins or small stickers to the ears for a decorative effect.
Secure the ears:
Use glue or double-sided tape to secure the decorated bunny ears to the headband. You can adjust the ears to a slightly curved shape for a more natural look.
Add additional decorations:
If you like, wrap a ribbon or streamer around the headband to enhance the overall aesthetic. You can also add small flowers or bows to the headband for a more adorable look.
3. Transform an old piece of clothing into a bunny headband
Materials:
Old clothing (such as a sweater, T-shirt, etc.)
Headband
Scissors
Glue or hot glue gun
Decorations (such as buttons, sequins, etc.)
Instructions:
Cut out the old clothing:
Cut out two bunny ear shapes from old clothing. Choose the appropriate pieces based on the color and pattern of the clothing to make the ears more distinctive. Making the Ears:
For a more dimensional effect, stuff the ears with cotton or other filling and then seal them with glue.
Securing the Ears:
Use hot glue or superglue to secure the ears to the headband. You can adjust the ears to a slightly curved shape for a more natural look.
Decorating the Ears:
Add buttons, sequins, or other embellishments to the ears to enhance their cuteness.
IV. Decorating Tips
1. Adding Lace and Ruffles
Adding lace or ruffles to the edges of the bunny ears adds a romantic and elegant touch. Choose lace that matches or contrasts with the headband's color for a more dramatic effect.
2. Using Twisters
Twisters are a classic decorative element for bunny headbands. Wrap several twirls around the ears or create a small bow with them for a touch of color and interest.
3. Creative Decorations
Use natural elements, such as small flowers, bows, or bells, to give your bunny headband a natural and rustic feel. These decorations can be attached to the headband with glue or hot melt.
V. Conclusion
Making a DIY Easter bunny headband is not only a fun craft activity, but also a great way to make your Easter party more interesting and personalized. With simple cutting, gluing, and decorating techniques, you can easily create your own bunny headband. Whether you choose a basic method or experiment with creative decorations, you can showcase your crafting skills and creativity. We hope these tutorials will inspire you to have a joyful and creative Easter!